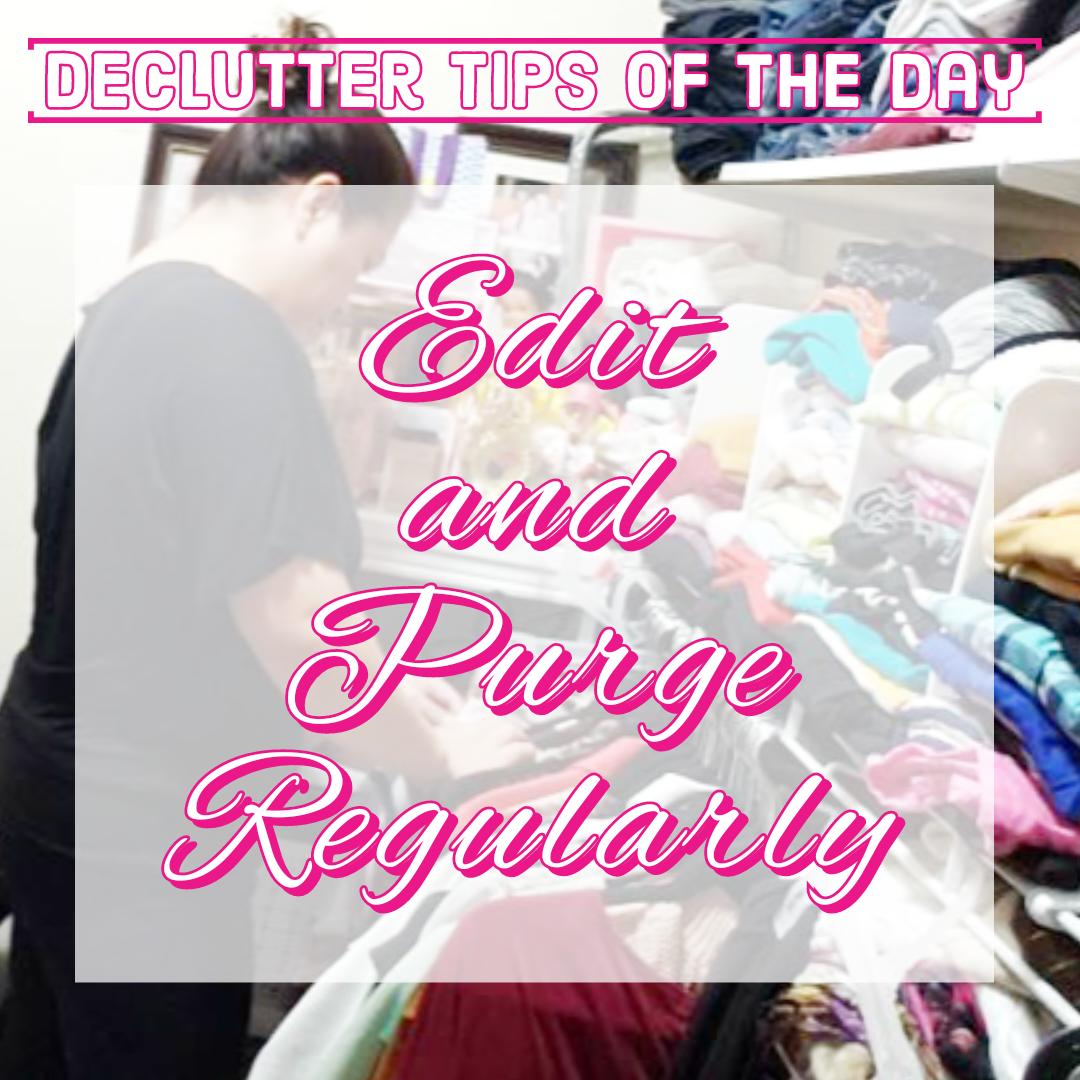
One of the things that I enjoy doing is organizing. Today I am going to share one tip that I do to help keep my house organized.
EDIT AND PURGE REGULARLY
Regularly go through yours and other family members’ closet. For me, I don’t have a scheduled day and time when I do this but I just randomly do it when I feel like it. If you are the type of person that likes a a schedule, you can do this once a month.
Look for items (clothes, socks, underwear, purses, shoes, etc) that do not fit your anymore or does not make you feel confident in it. Think of when was the last time you wore or use it – if it is more than 8 months – purge it.
Make a quick and ruthless decision to do only any of these 3 things:
Keep
Donate – friends/family or donate to organizations
Trash
There should be nothing in between or a maybe trash or maybe donate. Make a definite decision.
Both of donate and trash should go in a black trash bag, labeled appropriately. Then take it out of your house on the same day.
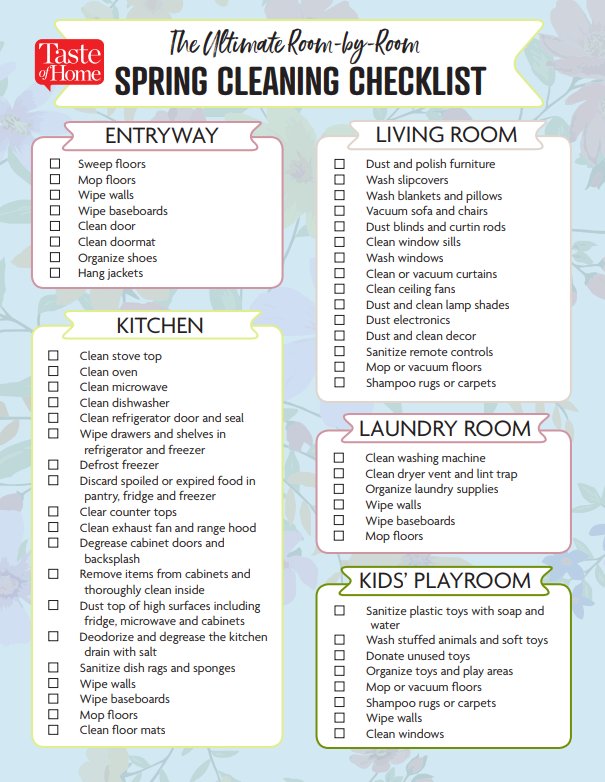
Spring gets me excited because that means we get to do our spring cleaning. I found this very comprehensive spring cleaning checklist that I’d like to share.
I found this from Taste of Home (https://www.tasteofhome.com/article/spring-cleaning-checklist/) and you can go through the list and you can clean to your hearts content.
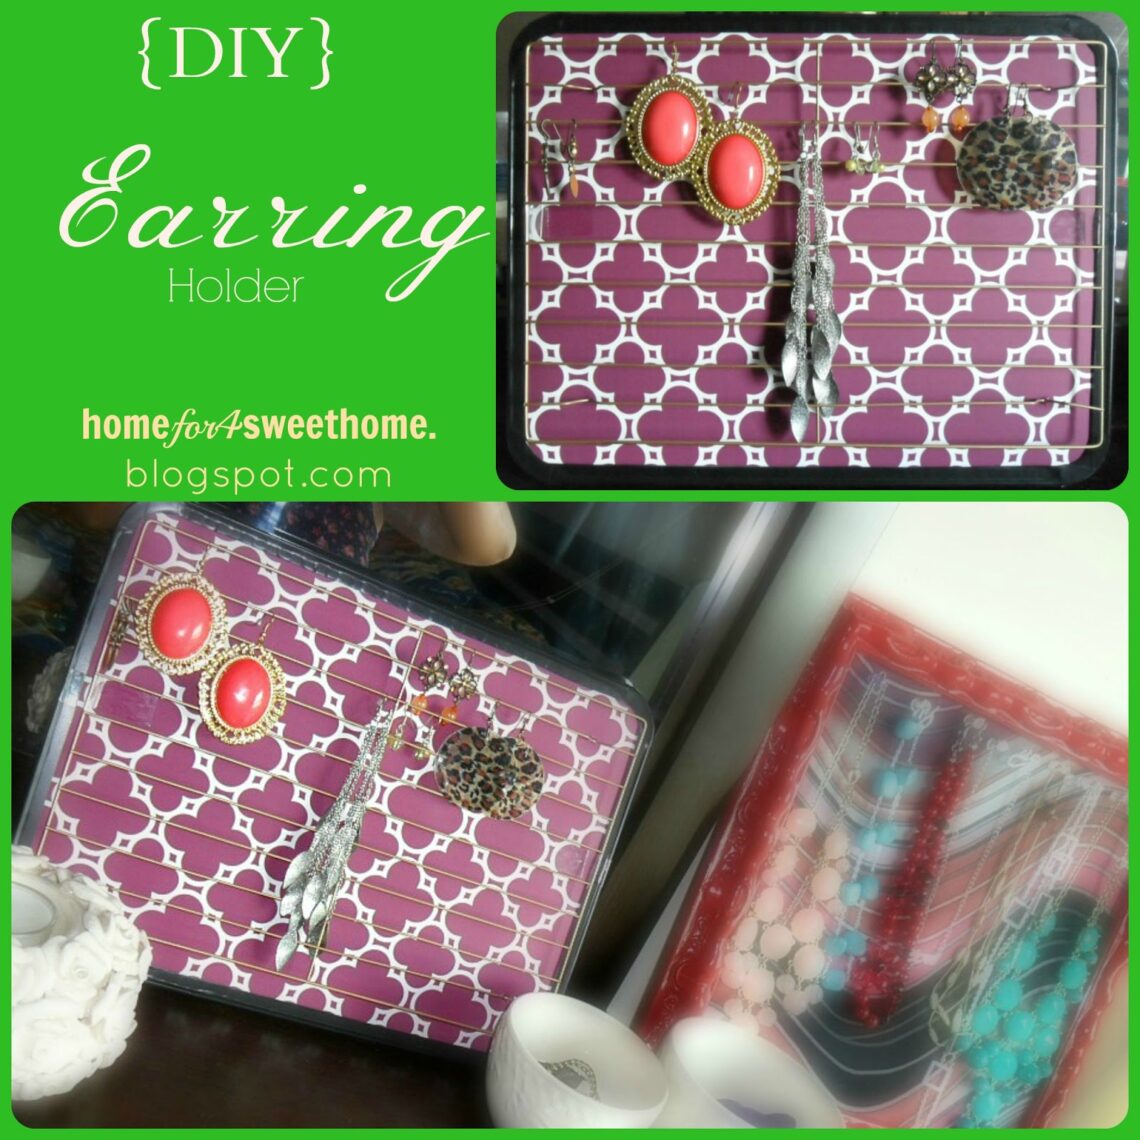
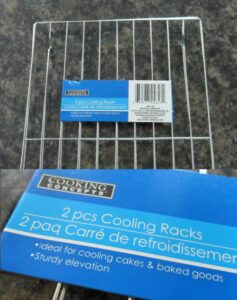
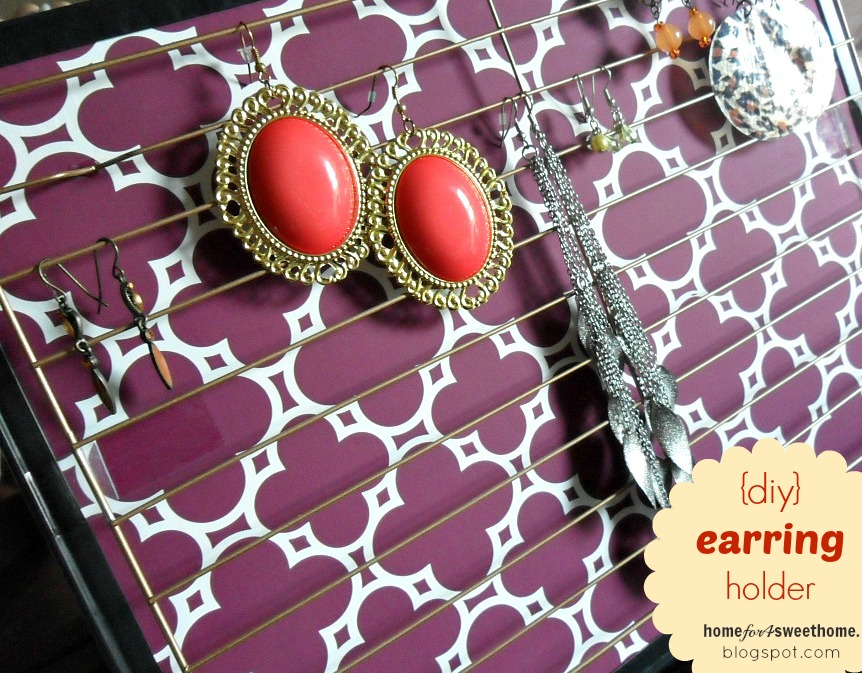
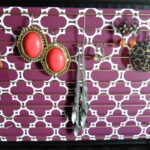
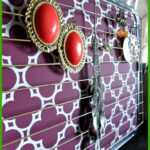
I bought my cooling rack from dollar store with 2 pieces per pack & this is the only thing that I spent money with that is the 50 cents since I only used one.
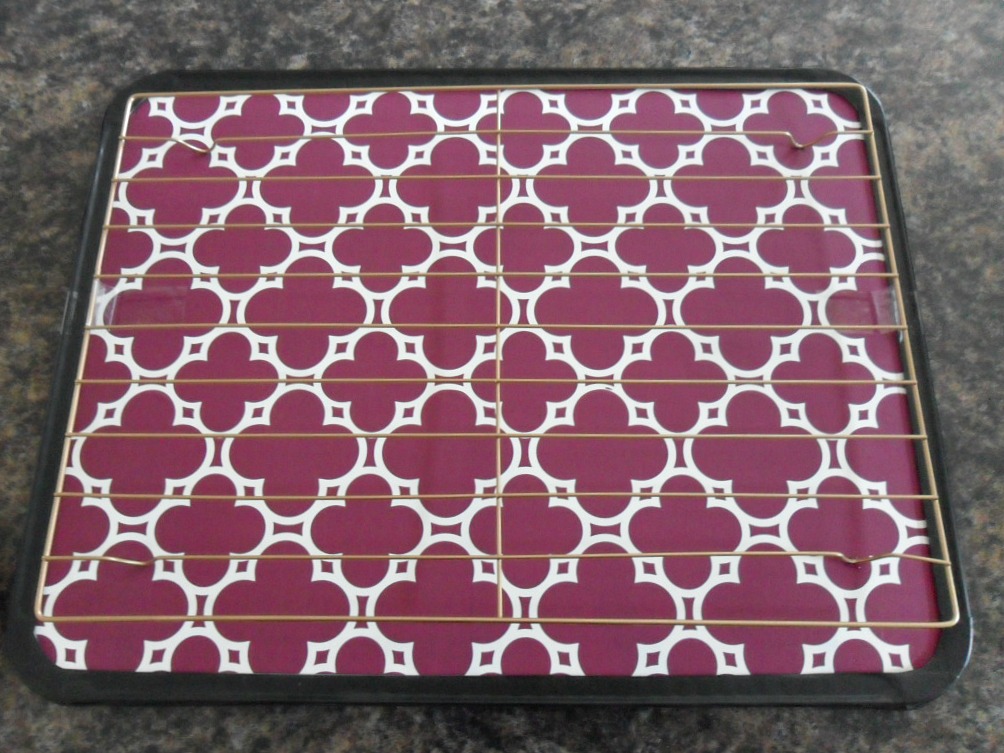
I spray painted the cooling rack gold to add some bling to my earring holder & to eliminate the industrial look of the cooling rack.
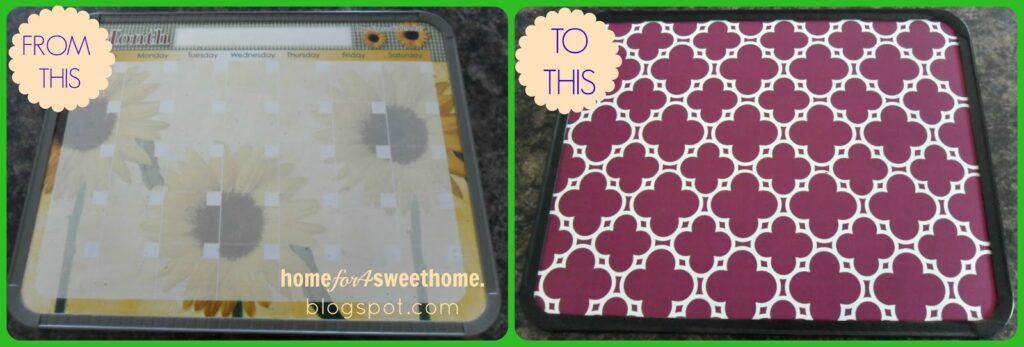
Then I covered this old dry erase board using a double side tape with a pretty wrapping paper that I already have, which by the way was used on my food packaging organization and then I used the black electrical tape to cover the frame.
When the cooling rack was dry from the gold spray paint, I adhered it to the my frame using scotch tape & loctite super glue.
Waited for 30 minutes before I started hanging my earrings! How awesome!