DIY
-
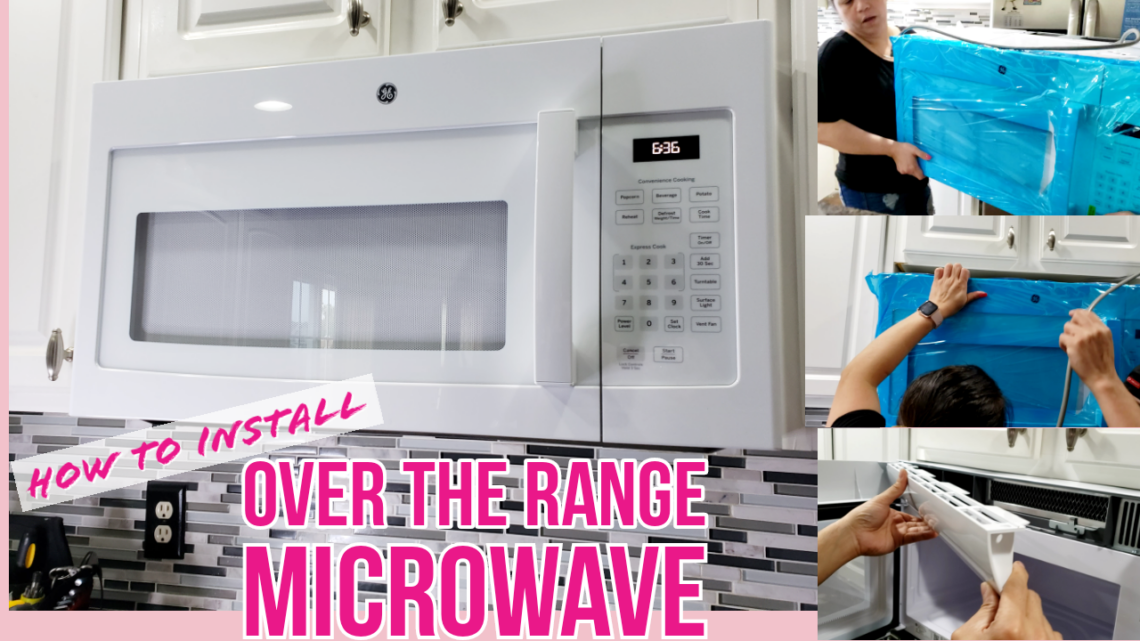
How to Install Over the Range Microwave [GE JVM3160 DFWW]
June 20, 2021 /Disclaimer: We are just regular homeowners, we are not responsible for any injuries caused from following this video. Please work safely and perform at your own risk. If you have doubts what so ever about doing diy electrical work, please do the smart thing & hire a qualified specialist to perform the work for you.
Our old microwave decided to quit working so we had to replace it. My husband and I made a decision to install it ourselves, mostly himself lol! We are just regular homeowners that wanted to do DIY, please see disclaimer above if you’re having doubts doing it yourself.
We had a GE built-in microwave oven, it was secured in two places:
- with a metal mounting plate at the back
- screws drilled through the top panel
Please check out my videos on how to pull out stove oven range before starting the removal. – https://youtu.be/5z9-rNJ-J60
Before you begin, read the instructions that’s on the manual that came with your microwave.
You can watch the full video on my youtube chanel by clicking on the vide below.
How to:
- unbox the microwave, it will have the following the contents:
- tray
- hardwares
- turn table ring
- grease filters
- charcoal filter
- exhaust adaptor
- cut the templates
- remove the mounting plate that’s attached to the microwave oven at the back
- remove the old mounting plate from the wall
- find studs to determine the new mount plate location
- drill holes to place the screws
- attach the mounting plate to the wall
- use top cabinet template to find drill holes location
- adapt your microwave to your ventilation type – you can watch my video on that here – https://youtu.be/hqTEzMJ4lqg
Tip: Microwaves approximately weighs over 50 poulds, so it is a good idea to have 2 people lifting the microwave for the installation.
- mount the microwave to the wall
- install charcoal filter – you can watch my video on that here – https://youtu.be/FtVHsRRvzN0
I hope you find this post helpful. Until then. XOXO

You May Also Like
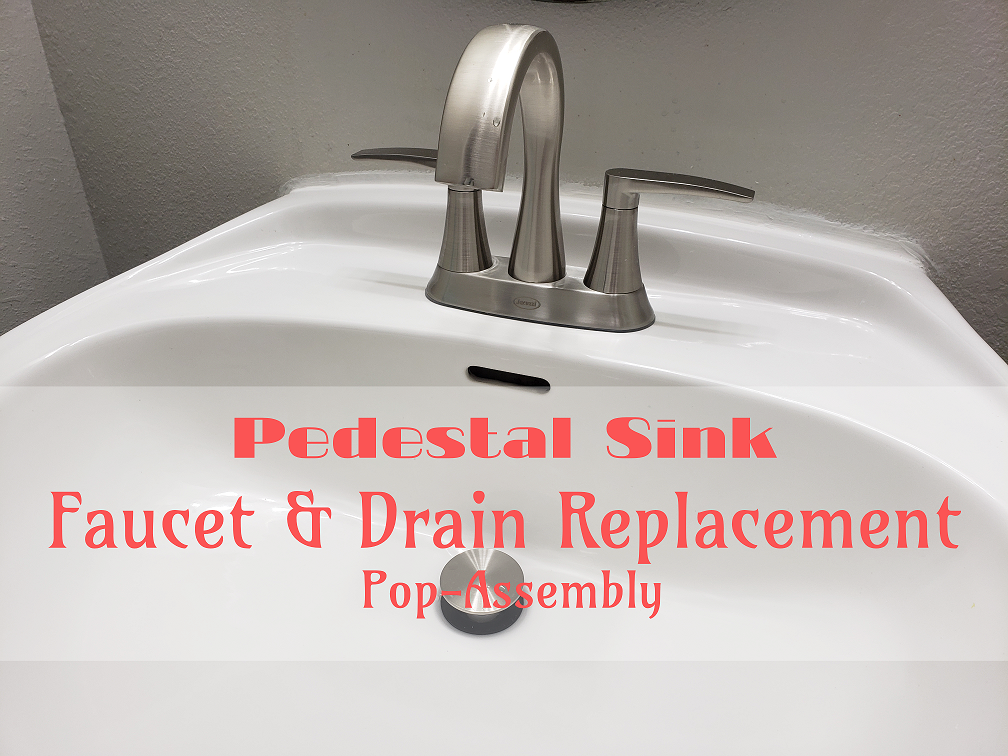
❗Pedestal Sink Faucet & Drain Replacement Pop Assembly | DIY by Real Regular Homeowner | July 2020❗
July 9, 2020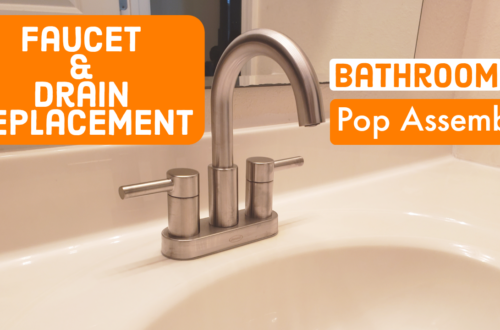
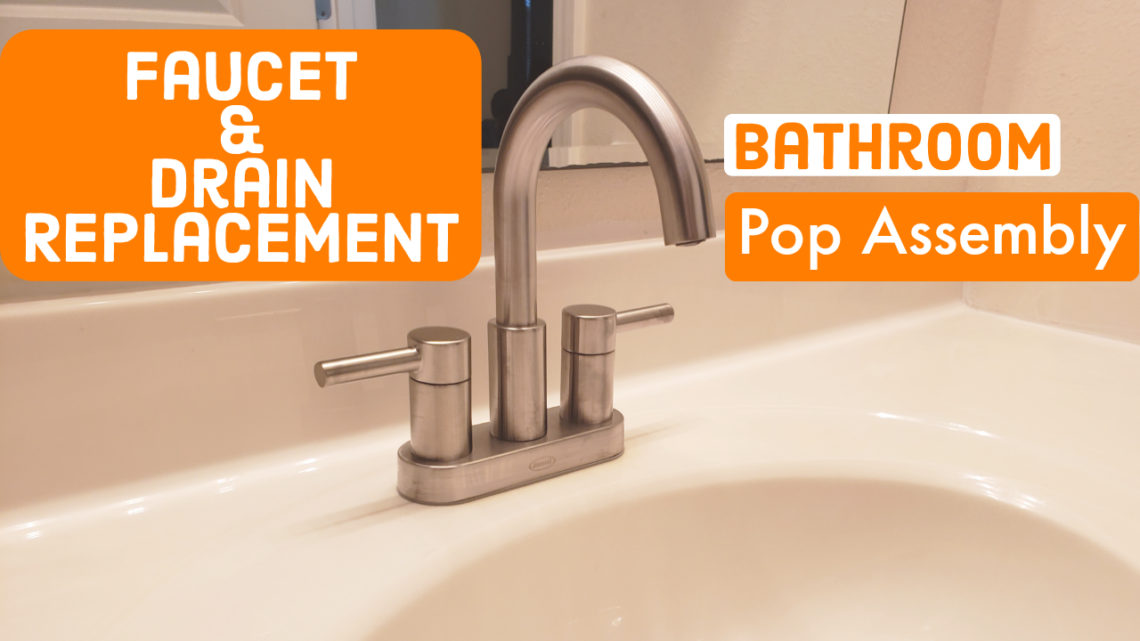
Bathroom Faucet & Drain Replacement Pop Assembly | DIY by Real Regular Homeowner | July 2020
November 30, 2020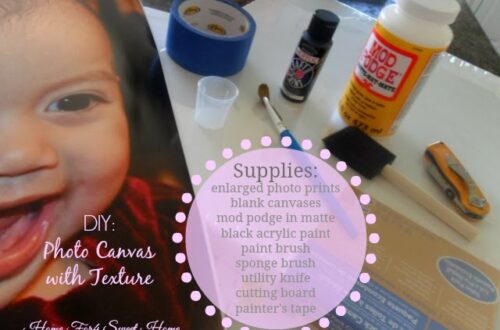
[DIY] Photo Canvas with Texture
March 4, 2014 -
Bathroom Faucet & Drain Replacement Pop Assembly | DIY by Real Regular Homeowner | July 2020
November 30, 2020 /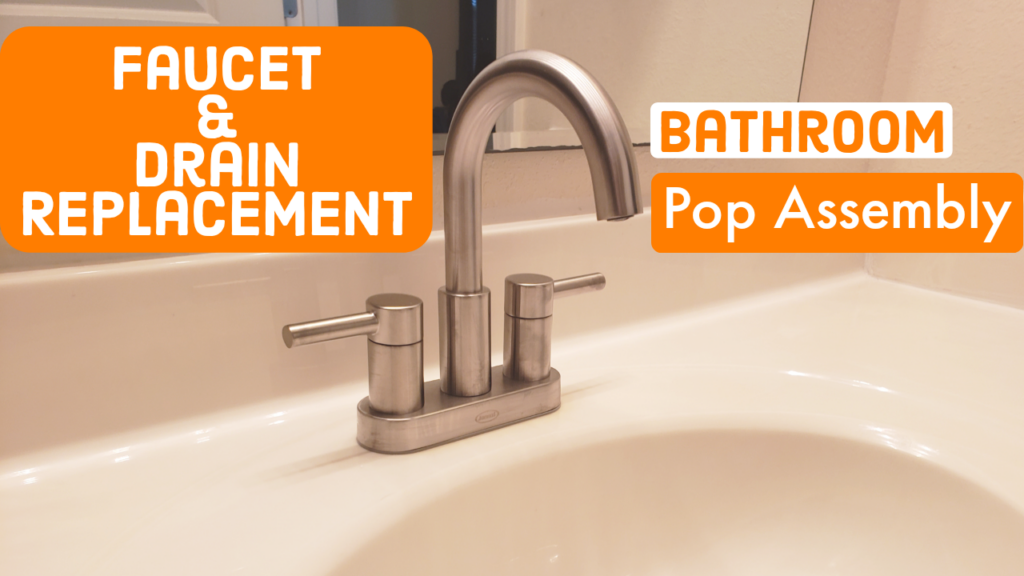
We did not know what we were expecting when we were doing this. There are a lot of videos you can find in youtube but this one is true to life experience and realistic by real regular homeowner.
We hope that this will teach and help people that wants to do this on their own.
We bought the faucet assembly at Lowes for $59 but I have Amazon links below for those that does not have Lowes in their area or just some options:
Faucets:
Matte Black Finish – https://amzn.to/2X3G97A
Gold Finish – https://amzn.to/3gaTpPm
Brushed Nickel Finish – https://amzn.to/32XtB5f
I also added Amazon links for the tools we used:
channellock wrench – https://amzn.to/3iN0aID
basin wrench – https://amzn.to/3gJNznL
adjustable wrench – https://amzn.to/2ZWHQ78
plumbing thread sealant – https://amzn.to/2ZWKmdB
plumbing tape – https://amzn.to/3gV17Nx
If you like this video,please leave a comment or a like 👍❤ Also don’t forget to subscribe to my YouTube channel for more videos – Rea_Homefor4 – https://www.youtube.com/c/ReaThomefor4sweethome/
Disclaimer: This video is not sponsored. Some affiliate links are used which I may earn a small commission from but this does not cost you any extra. This rather helps support and improve my channel. If you would like to support me, thank you very much ♥ Otherwise, feel free to look up anything mentioned in this video to find where to purchase it. Thank you ♥
__________________________________________
ABOUT ME: I am super thrilled to see you here in my little channel ~ THANK YOU for stopping by I hope you keep on coming back. My name is Rea, I’m married to this amazing, hardworking and genuine man, who also happens to make me laugh ♥ I’m a mom of two ~ a boy and a girl ~. I was born in the beautiful island of Cebu, Philippines (Dumanjug Province), where the average weather is 80°F all year round. Currently living in the USA, the land where all dreams come true. My work deals with math all day everyday, so this is my creative space. Where I share all things pretty, lovely, fun, happy & anything feel good. That being said, what you see in my social media is just my highlight reel. With this generation of social media and technology, it is very easy to compare yourself to what you see. _Take those you see as an inspiration, it is okay to be inspired by them but always STAY TRUE TO YOURSELF._ Whether you like what you see or not, remember to don’t compare your real life behind-the-scene with everyone else’s highlight reel. I also like to organize, clean, decorate my home or make some projects to either have fun with the kids or to explore something new. I like fashion but it has to be affordable, comfortable and pretty. My youtube and other social media platforms allow me to share my passion and letting my audience get inspiration from it. Hope you enjoy my channel ♥ Rea
You May Also Like

[DIY] Photo Canvas with Texture
March 4, 2014
❗Pedestal Sink Faucet & Drain Replacement Pop Assembly | DIY by Real Regular Homeowner | July 2020❗
July 9, 2020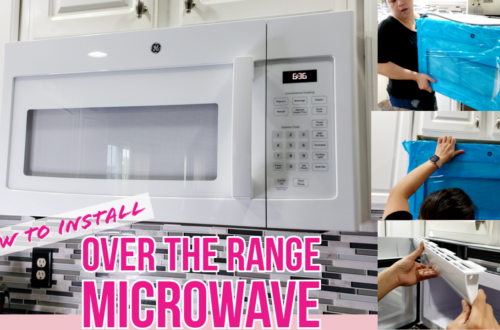
How to Install Over the Range Microwave [GE JVM3160 DFWW]
June 20, 2021 -
❗Pedestal Sink Faucet & Drain Replacement Pop Assembly | DIY by Real Regular Homeowner | July 2020❗
July 9, 2020 /❗ Pedestal Sink Faucet & Drain Replacement Pop Assembly | DIY by Real Regular Homeowner | July 2020 ❗
We did not know what we were expecting when we were doing this. There are a lot of videos you can find in youtube but this one is true to life experience and realistic by real regular homeowner.
We hope that this will teach and help people that wants to do this on their own.
We bought the faucet assembly at Lowes for $64 but I have Amazon links below for those that does not have Lowes in their area or just some options:
Faucets:
https://amzn.to/2ZSBeaa
I also added Amazon links for the tools we used:
channellock wrench – https://amzn.to/3iN0aID
basin wrench – https://amzn.to/3gJNznL
adjustable wrench – https://amzn.to/2ZWHQ78
plumbing thread sealant – https://amzn.to/2ZWKmdB
plumbing tape – https://amzn.to/3gV17Nx
If you like this video, please visit my youtube channel and leave a comment or a like 👍❤
Also don’t forget to subscribe to my YouTube channel for more videos – Rea_Homefor4 – https://www.youtube.com/c/ReaThomefor4sweethome/
I really hope you find this post useful and if you have anything that you want me to post in the future, just let me know, XO.

You May Also Like

Bathroom Faucet & Drain Replacement Pop Assembly | DIY by Real Regular Homeowner | July 2020
November 30, 2020
How to Install Over the Range Microwave [GE JVM3160 DFWW]
June 20, 2021
[DIY] Photo Canvas with Texture
March 4, 2014 -
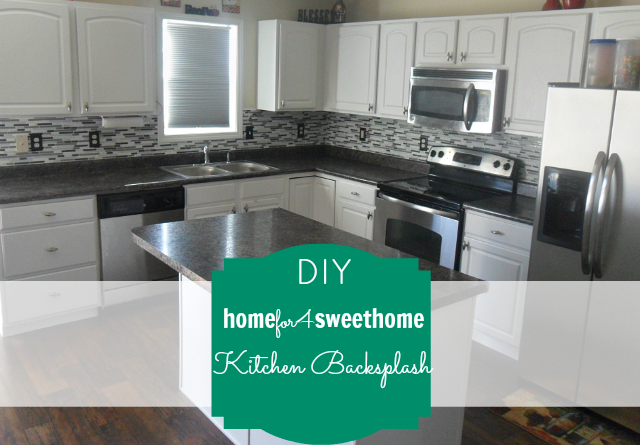
Our Kitchen Backsplash is Finally Installed
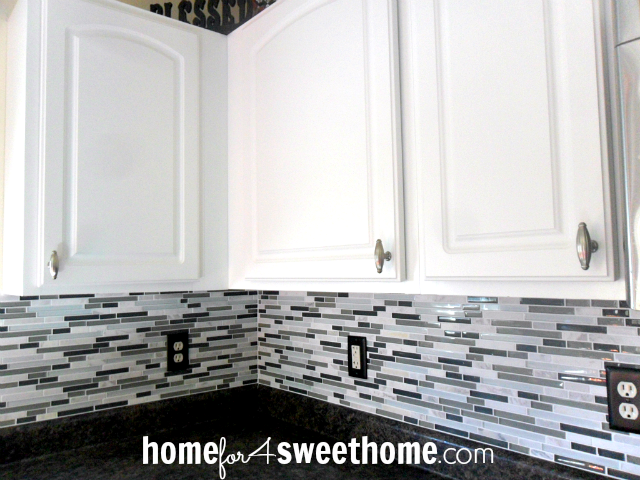
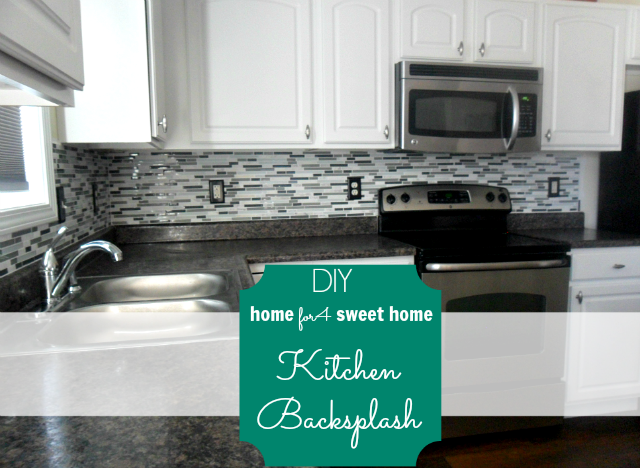
January 26, 2015 /As you may know we have three other backsplash inspiration but after almost two months of waiting since we purchased our backsplash of choice, last weekend we were finally able to do the grouting to finish off the kitchen backsplash installation.
We (The Mr. and I) wanted to tackle this project when both of us have at least two days off. We started it two weeks ago with the mortar and tile installation.
We are so happy with the result.It is very important to turn off all the electrical power of all the outlets before starting.Luckily for us, the wet tile saw and some of the tools, we were able to borrow from friend and family. So that really saved us a lot of money. You might want to check out from family and friends if you can borrow some of these tools.
I may not be going to include a step by step instruction on how we did this because we basically followed Amy Matthews’s video tutorial in the very bottom video on how to do it.
It is the most detailed instruction that we have found when we were researching on the www. But you will see my DIY’ers Tips for this project based on our experience on this post.Plus I was not able to take photos during the process of installation because we were too busy arguing, lol!
I actually kidded my husband that we have surpassed the biggest test to our relationship. My advise: If you guys want to know if you’re relationship is strong enough. Do a project together. If at the end of the project you did not decide on getting a divorce, then your relationship is strong. lol!
Really, in all seriousness, at the beginning of the installation, The Mr. and I were arguing so much because we haven’t established our process who’s gonna do what.
DIY’er’s Tip: It is better to install the tiles with two sets of hands because while the other set of hands hold the tiles using float trowel to adhere it, the other set of hands can start the measurements for the next tile.
But after about a couple of tiles installed, we decided that while he cuts the tile to fit around the outlet, I will be putting the mortar on the wall just enough to attach the mosaic tile.
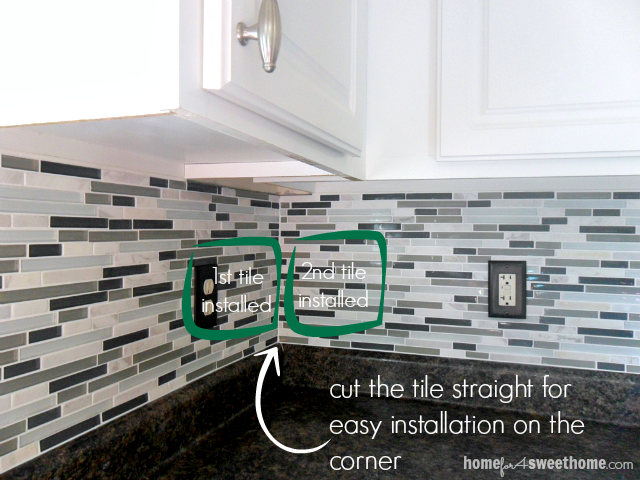
DIY’er’s Tip: Mortar dries very fast, so apply only on the wall that will approximately will adhere the size of your tile or your mosaic tile.On the tutorial video above, it was mentioned to start the tiling in the center and work out, but we did not do that on ours. We started on the spot where we thought is the most difficult to work on with and hard to reach – and that is the middle corner, see photo below.
The Mr. cut the tile straight so we can easily install it on the corner then we work our way out.
And because we were able to establish what works for us, the rest was pretty much faster and smoother.
The next challenge was to work around an outlet. For whatever reason when we decided on how many outlets we wanted on the kitchen when this house was built, we have 8 outlets that we have to work around with. That was a challenge!DIY’er’s Tip: When it comes to working your way around an outlet, we just made sure that switch plate will completely cover the tile. It wasn’t a big deal if it was straight or not as long as it will be eventually covered by the switch plates.
We decided to change the color of our switch plates to make it more dramatic and contemporary.
When we finally got to the end of the kitchen wall where we want our backsplash to end, we measured our statement piece that we haven’t installed yet but don’t worry you will see it here pretty soon, then bordered the bottom with vertical tile.We waited for a week, then we grouted last weekend to finally finish this project off.
DIY’ers Tip: When mixing your grout, start with a small amount of powder estimating to cover at least a feet of your backsplash. That way you only have enough grout to last for 10-20 minutes because after that, the grout can be very difficult to apply as it may start to dry up and harden a little bit.
DIY’ers Tip: While the other set of two hands is applying the grout, after 10 minutes from when the grout was first applied, the other set of hands should start wiping off the grout clean using the sponge.
And there we have our newly installed kitchen backsplash!!!The best thing about this project is that when I’m doing the dishes, it doesn’t make me want to cry anymore. Remember my post about how the wall against the sink look like?It actually makes me want to sing and dance while doing the dishes!!!And how it used to look like before the backsplash is now part of the past.Because I am super happy with the result! So thankful also for The Mr.!!XOXO,
You May Also Like

[DIY] Photo Canvas with Texture
March 4, 2014
How to Install Over the Range Microwave [GE JVM3160 DFWW]
June 20, 2021
Bathroom Faucet & Drain Replacement Pop Assembly | DIY by Real Regular Homeowner | July 2020
November 30, 2020

