HOME DECOR
-
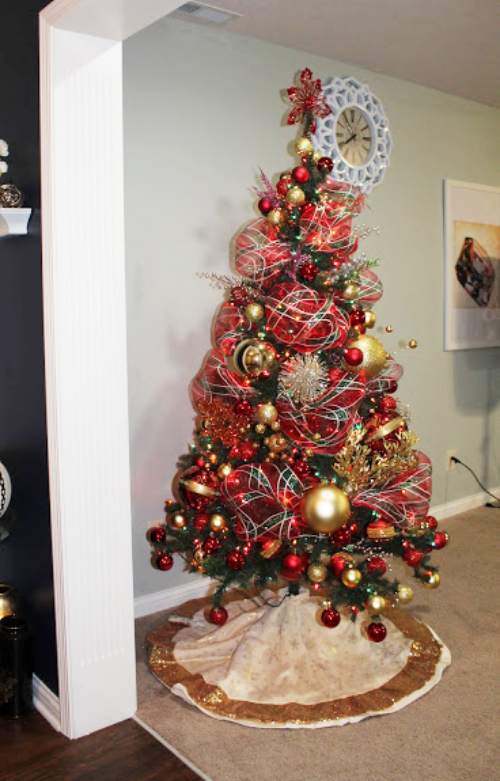
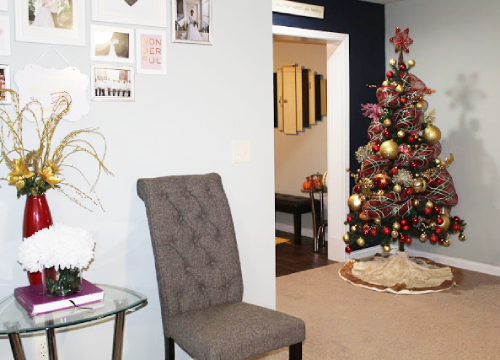
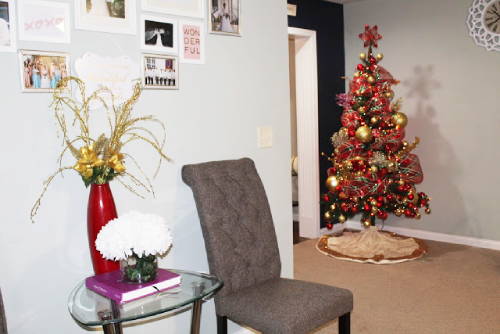
Christmas Tree is Up Early This Year – Red and Gold Theme


-
Our Lazy Boy Recliner Sectional

-
Our Backsplash Choice
Not too long ago I posted about how it makes me want to cry when I see our wall above the sink without backsplash. Yeah, I am being dramatic about this whole thing, but my thought is we pay a whole lot of money for this house, then we need to keep this reliable, clean & beautiful.Easier said than done because, let’s face it, to achieve those three items, it cost money – they either come in small amount or large amount.Backsplashing is one of those home improvements that it is smarter to wait to really buy what you wanted, because it is an investment that increases the value of your home.Finally we have purchased the backsplash that The Mr. and I both like. We bought two boxes of this Allen + Roth Mosaic Wall Tile. The picture below is kind of lighter than the actual colors.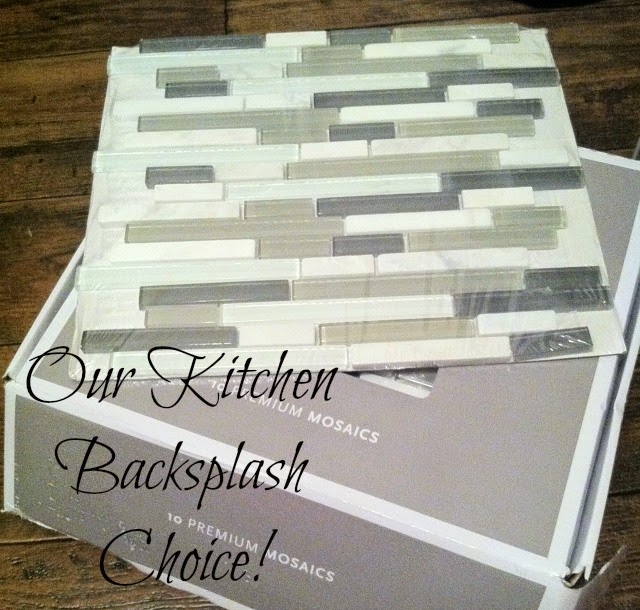 This is actually the fourth on the list of my kitchen backsplash inspiration.
 What I like about this backsplash is that it even with our white cabinets, it will add enough visual interest and lots of attention because of it its varying colors & sizes in the mosaic.Now I cannot wait to install this!!♥ I am super excited!!♥Until then…***Update 02/11/15: Our kitchen backsplash is finally installed, if you want to see it, click here.***
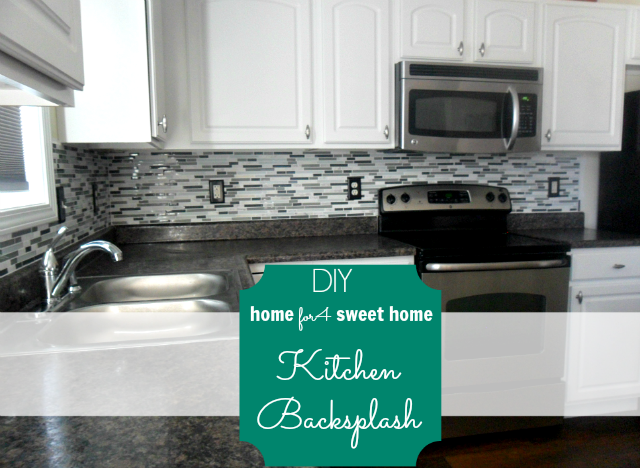

-
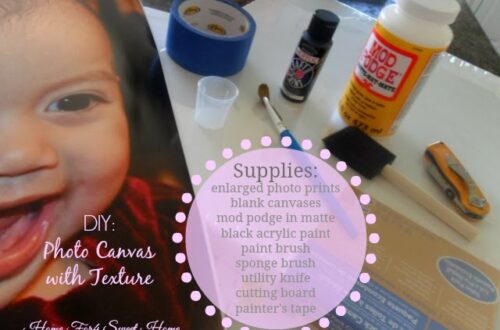
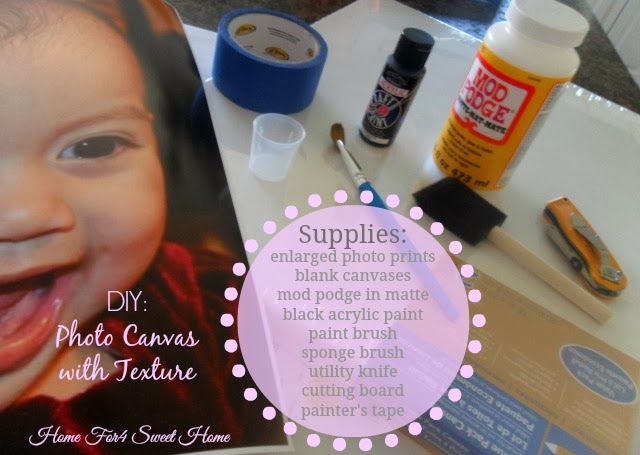
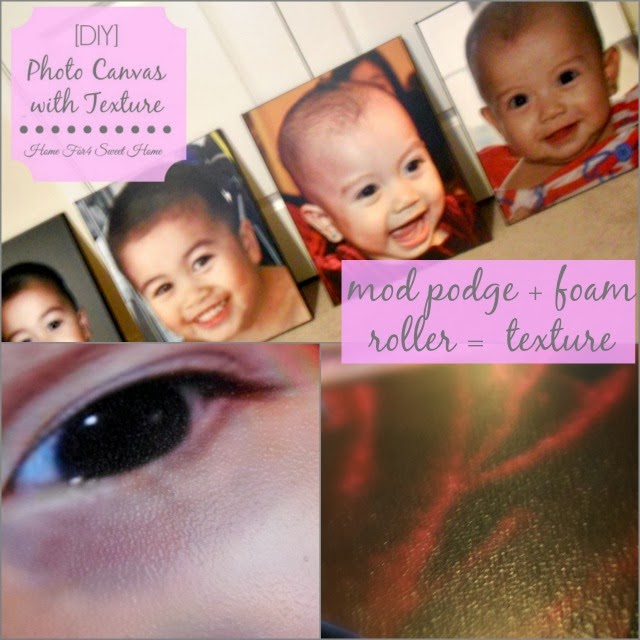
[DIY] Photo Canvas with Texture
A long time ago, I had a love-at-first-sight when I saw this beautiful room with large canvas photos from houzz.

Eclectic Living Room by Sandy Media & Bloggers Michelle Hinckley
I ordered my 16×20 enlarged prints from Sams Club for $5.96 each. Very impressed with the quality of it. And I got my canvases of the same size with my photos at Michael’s that were on sale for $4.99/2 canvases. So it’s like getting each canvas for $2.50, love sale!

Not on the photo above, which is the most important thing to get the textured effect are these items.

Although I recommend for you to just go and read Carrie’s tutorial because it is very detailed, I had a slight variation in my own version.
Here’s my steps:
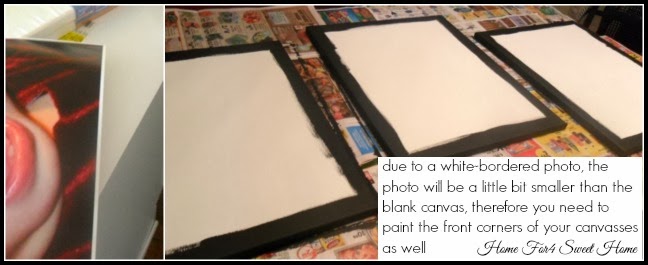
1) Put a painter’s tape on the back of the blank canvas to avoid overpaint. Although it may not be seen but the ocd in me just can’t stand the thought that the back of the canvas had overpaint.
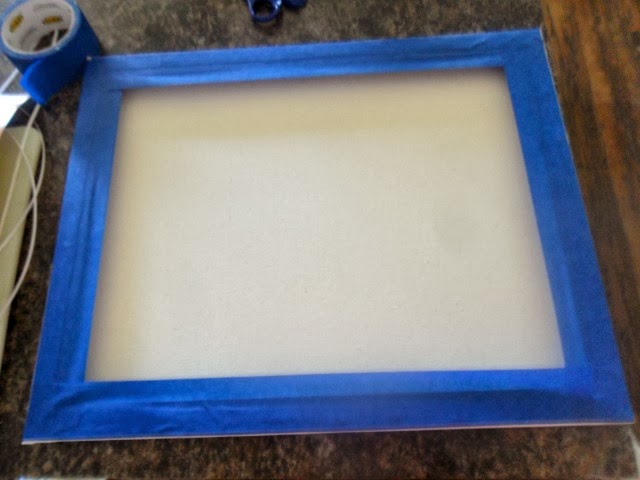
2) Paint the edges of the canvas all the way to the front corners of the canvas because my photo prints came in with white borders so it is going to be smaller than my canvas. Allow the paint to dry, I waited overnight on mine.
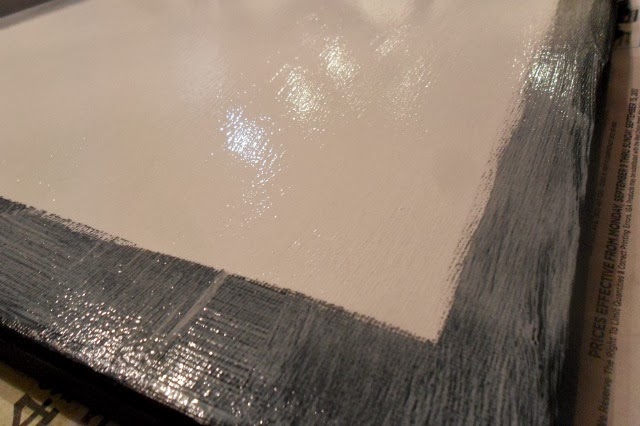
3) Once the paint is dry, you may now start putting a thin layer of mod podge to the blank canvas using the foam brush. Pay more attention on making sure that the edges & the corners of the canvas have mod podge.
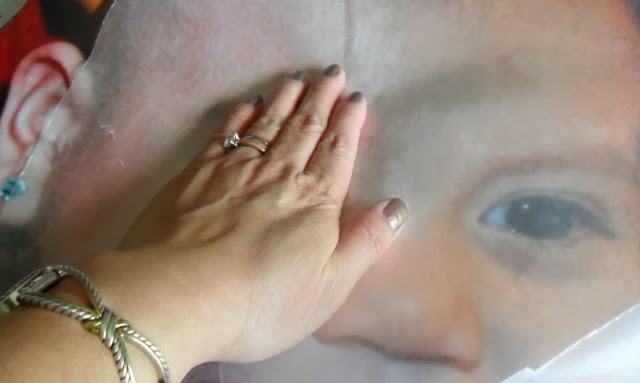
4) Allow the glue to breathe a little bit then you may now gently place your photo to still wet with mod podge canvas. Since I did not want any fingerprints on the photo, I used a wax paper while pressing down the photo to the canvas.
When the photo is all adhered to the canvas, I thought it was so beautiful already.
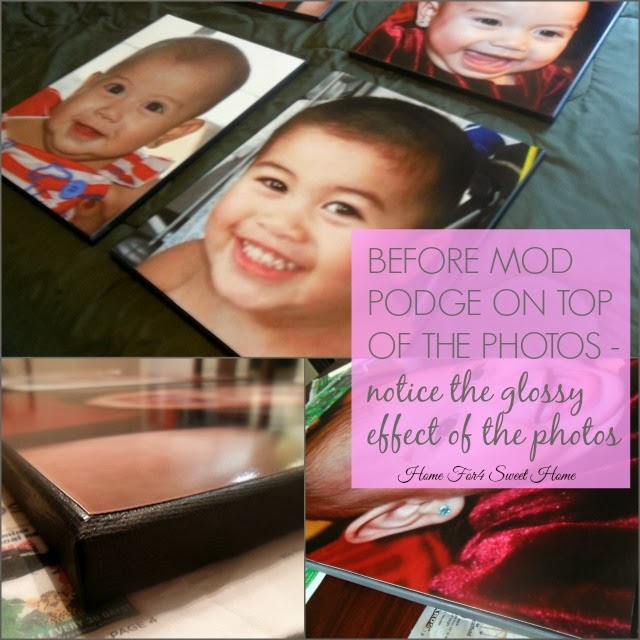
You might be tempted of stopping after this step – but please don’t – THE BEST IS YET TO COME.
**Allow the photos to sit overnight, I did not rush my process, because I wanted it to be perfect. So be patient.**
5) Finally, the fun part. Adding texture to the photos, to get that real canvas texture. Pour mod podge somewhere on top of the photo, then using foam brush, spread it all over the photo, sparing nothing. Just like the picture below.
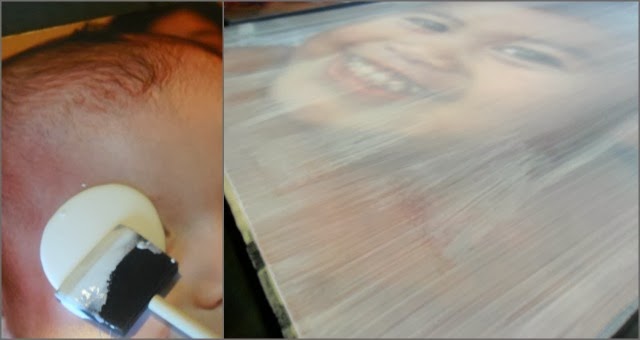
**Make sure that you are distributing the mod podge EVENLY all through out the photo.**
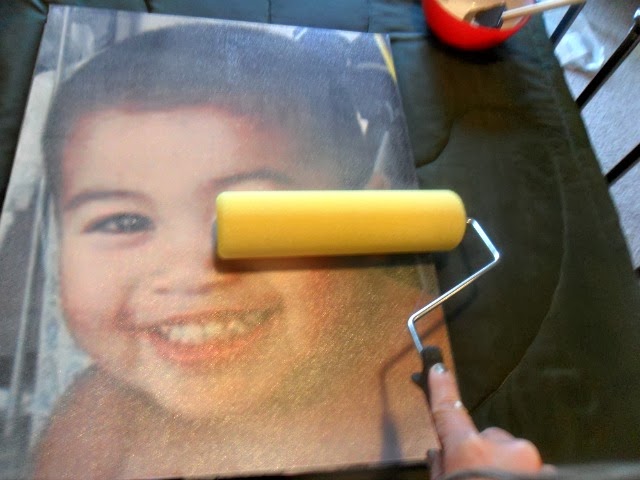
6) Quickly roll over the dry foam roller to the wet with mod podge photo. Make sure to only roll it over in one direction, if you want horizontal-keep horizontal or if you want vertical-keep vertical. Mine was only vertical direction. Roll your foam roller as much as you can to ensure that the mod podge is all the way spread out while gently pressing the foam roller at the same time.
**Make sure that there is no debris trapped on your mod podge, no bubbles & no streaks, you want it to be flawless but milky.**
Here’s some photos for you to visualize what it should look like after foam rolling.

7) Allow the canvasses to dry. Once they are dry, you will be amazed how beautiful it all turned out!
Here’s mine look like once dried.


Now I’ve got to figure out where these babies need to go♥
All in all, I am impressed and then guess what? The Mr. is as impressed as me too! Spent about $10 on each photo canvas compared to $89.99 or even more to $450!
Thanks for reading and until then. XO.